My work this iteration on my project is setting up a CI build and then migrating all our POC code to the solution.
Right now I am creating a simple build as practice for setting up the actual build.
I am approaching this from a complete n00b when it comes to creating a TFS build. I have created builds before but they have been small and just simple MSBuild files. This is the first time I am using TFS and creating not only a build but a continuous integration environment.
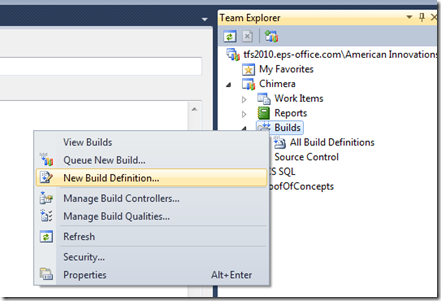
I created a Team Project and added a simple C# project to source control. I then looked at the Team Explorer and noticed that there is a Builds section under my project. Intuitively I right clicked and found where I can create a New Build Definition.
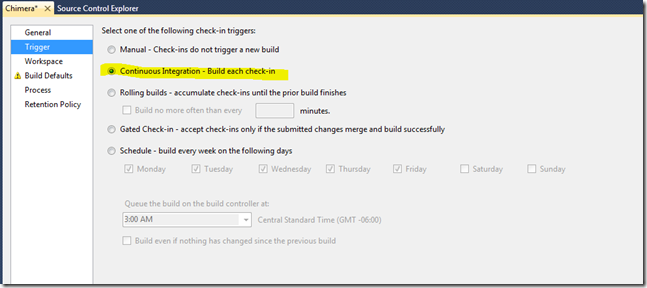
I looked at the options available to me on the Build Window and noticed a Trigger section. Investigating the Trigger section allowed me to select what triggers this build. Oh look a CI trigger that builds after each check-in!
I then had to set an output folder so I created a folder on our build machine and set the folder to that.

And then I was done.
I do have to say we already had a TFS Build Controller setup so I can’t comment on that for now.
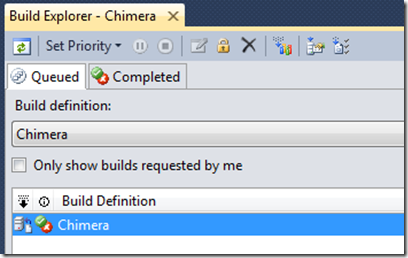
I then ran a couple of experiments. I first added a class foo to my project and checked in. I then double clicked on my Build under the TFS explorer and was given two reports. One report showed the current queued builds and the other had a list of the completed builds.
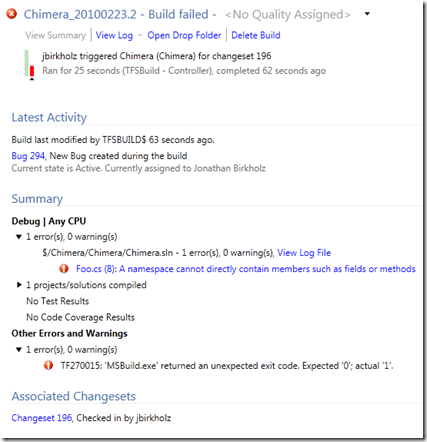
After I ran my first successful build I then made a compile error and checked it in. I then had a failed build.

When I double clicked the failed build I got this UI.
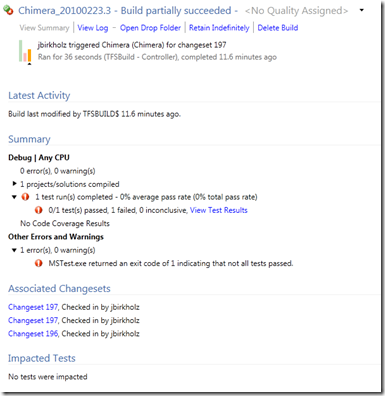
I then created a test project and then made a failing test. Now my build looks like this:
And when I double clicked I got this report.
So that was a real quick run through with creating a CI build with TFS 2010. I have to say… I was surprised that it was that easy. I am continuing my work with the build but it looks like the simple scenario was incredibly easy!